I have posted earlier that the “easy mode” of the Eee PC is like living on the bottom bunker in a basement cell of the Alcatraz. Liberating it to the default Xandros “advanced mode” is just like going out to yard with sweaty inmates, which isn’t saying much.
I initially installed eeexubuntu on that little critter, but soon was disenchanted. XFCE is just not for me. Solution? Install everybody’s favorite! Ubuntu!
USB disk or CD drive?
Installing a different distro on your Eee PC is done either by using a USB thumb drive or an external CD drive. I expect that the Eee PC is the first Linux experience to a lot of Eee PC users, so I would recommend getting an external CD drive, it’s much less of a hassle.
Downloading, burning, and preperation
First of all you will need to get Ubuntu. At the time of writing this, Ubuntu 7.10 (Gutsy) is the latest so get it either through direct download or torrent.
Then you will need to burn it on a CD using your favorite image burner. (there are many guides for that, google it)
You will also probably need to edit the boot sequence in your bios. So restart your Eee PC and press F2 to enter the bios menu and change the primary boot to “USB Optical Drive”. Pop in the Ubuntu CD in your external drive and restart. Then press enter when you get the list of options (first option).
A couple of minutes later you will be on your default Ubuntu desktop. Before clicking the “install” icon, you will need to disable the desktop effects. Since the installer doesn’t fit into the small Eee PC screen, you will need to use the ALT+Right click option to move the installer window. So System –> Prefrences –> Appearence and then go to the last tab “Visual Effects” and then select none.
Installation
Now you are ready for installing, so click on the “Install” icon located on your desktop (pictures are eclipsed due to screen size):
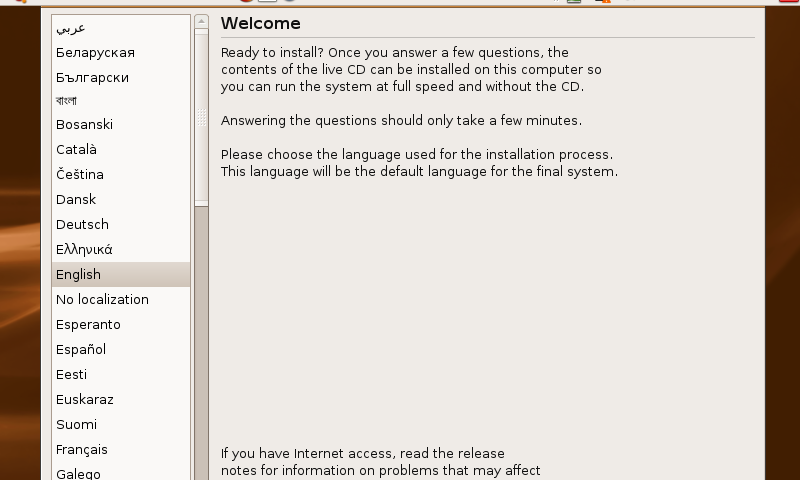 Select your language.
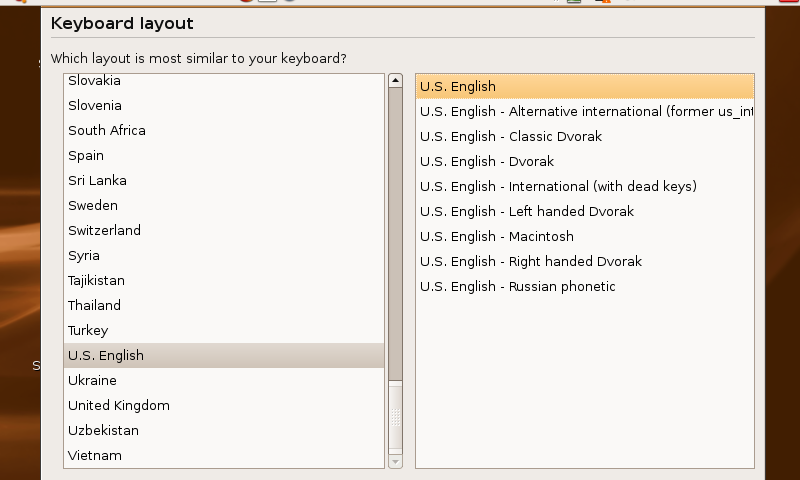 Select your keyboard layout.
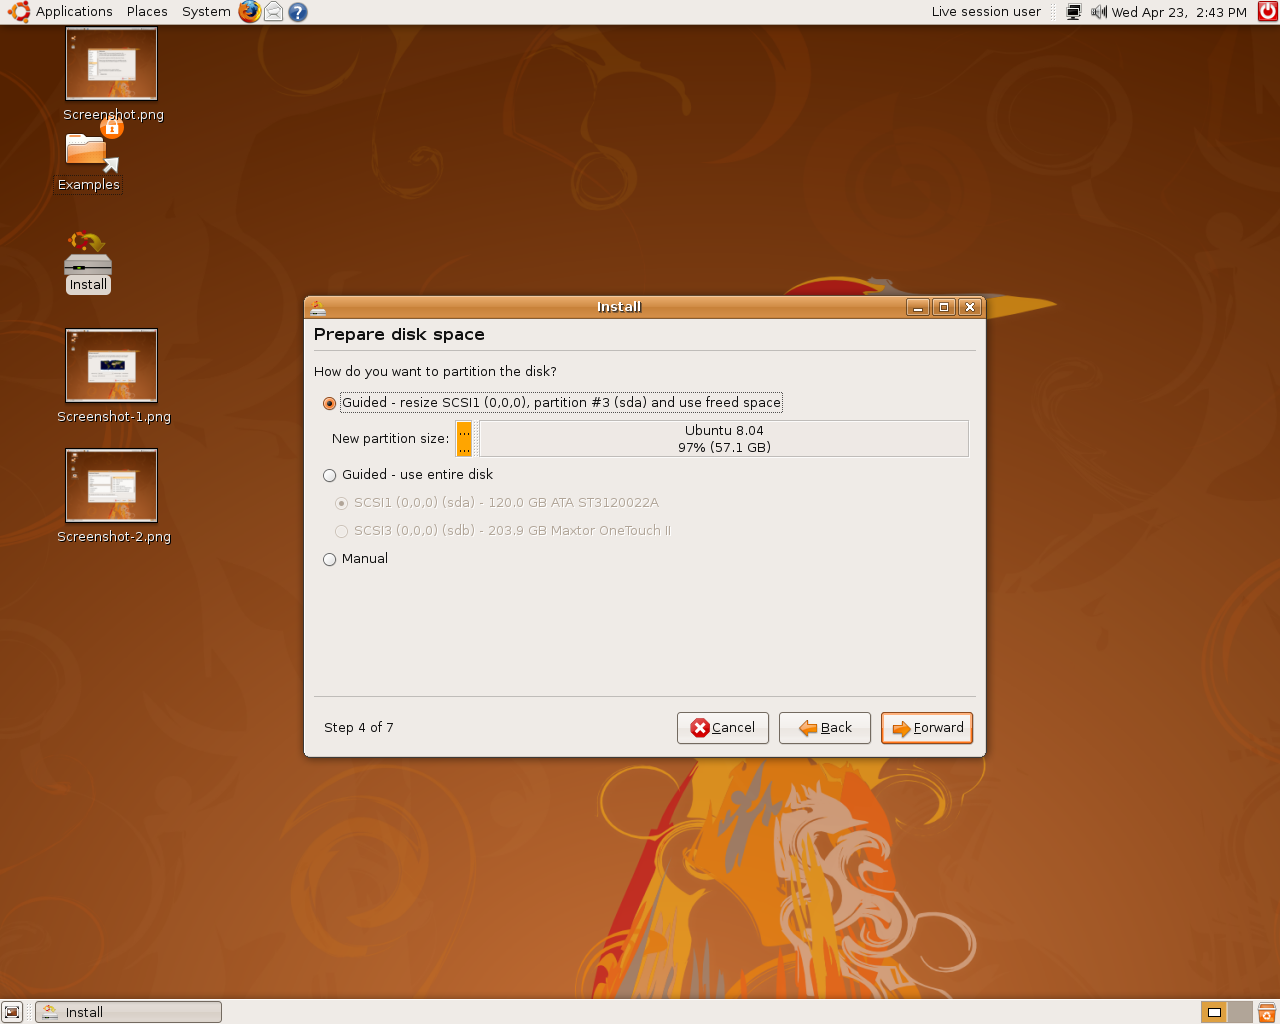 Select manual partitioning.
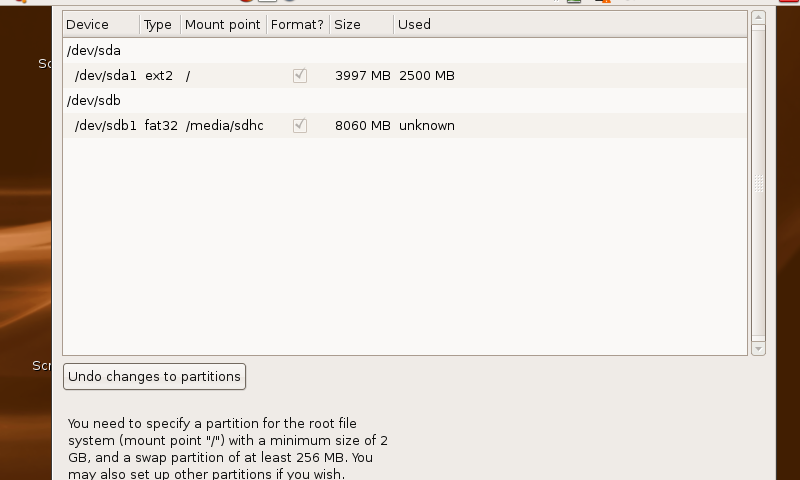
This is the tricky part, basically you will need to set a root partition for the system to be installed in. So we are going to partition /dev/sda1 and make it our root. Click on /dev/sda1 and then delete whatever partitions under it. Then click on new and in filesystem choose ext2 (we are not going to use ext3 because we want to limit writes due to the solid state disk nature of the Eee PC). Also set mount point to “/” (without the quotes).
If you have an SDHC card click on it and edit the mount point to “/media/*whatever*”. If you have nothing interesting in that card you might want to just delete whatever partitions and make a new partition, and choosing the filesystem as “fat32″. Since you never know when you might want to use it on Windows machine ;).
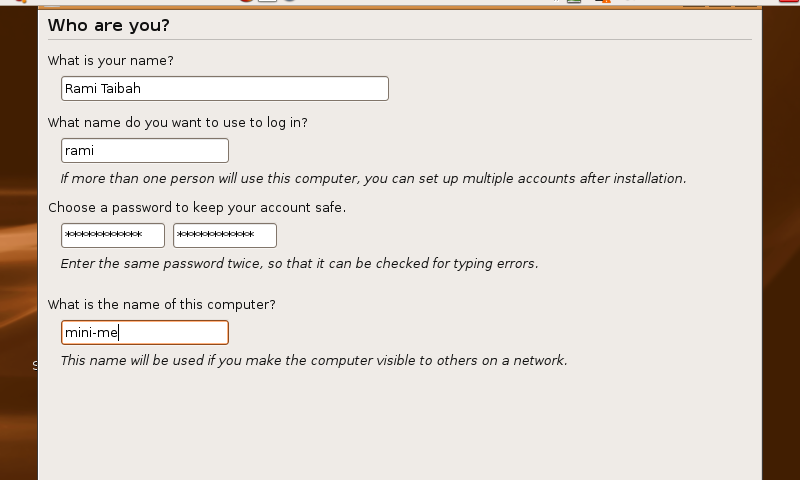
Enter your details. Name, user name, password, and machine name. Click next.
You will be prompted with a warning that all your data will be wiped out, click OK. Now sit back and relax, your system will be ready in 30 minutes or so.
Thats it! Now just click restart system when prompted, you will then asked to eject CD.
Now your golden :)
A lot of functionality will be missing with this out of the box Ubuntu installation. For example your wireless won’t function. Visit my Perfect Eee PC Ubuntu Installation Guide for a complete guide on how to get things up and running.